View Modes
Scene2Model offers different view modes, which change the user interface, based on the task a user should fulfil. The view modes are more nuanced then the interaction modes.
Interaction modesinfluences how much standard ADOxx windows are shown, like the model explorer and navigator that can be opened on the left hand side of the user interface.View modesinfluence the drawing area, the recognition controls, the modelling bar, the elements shown in the modelling bar and the visualisation of the objects in the model.
The following views are available:
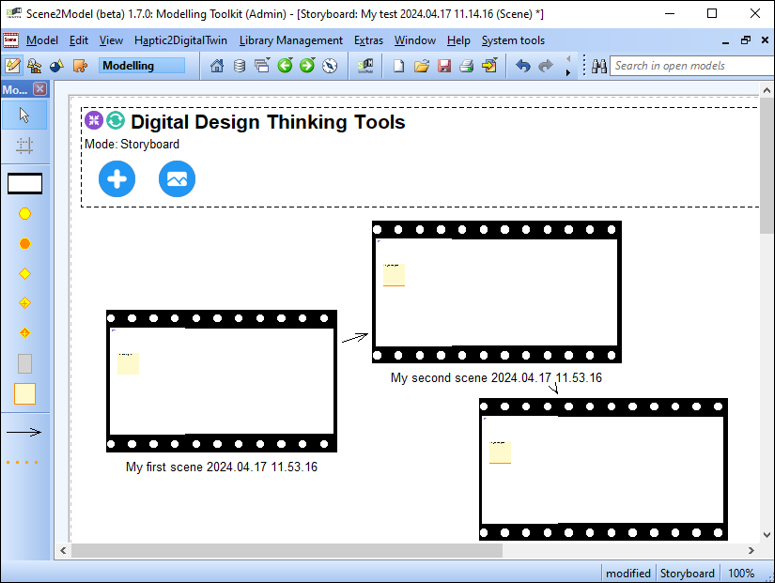
- Storyboard: Create storyboards as the fundamental structure of your project.
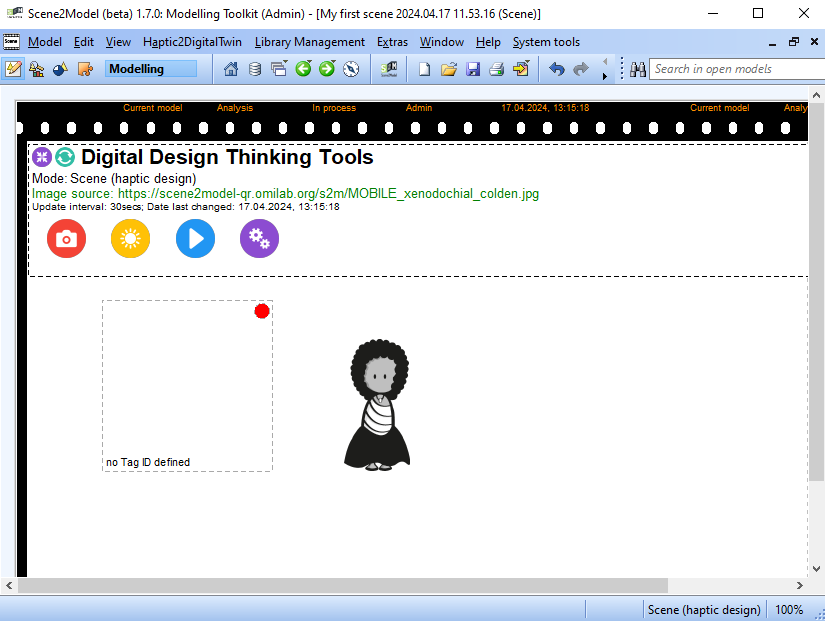
- Scene (haptic design): Import haptic scene into the modelling tool.
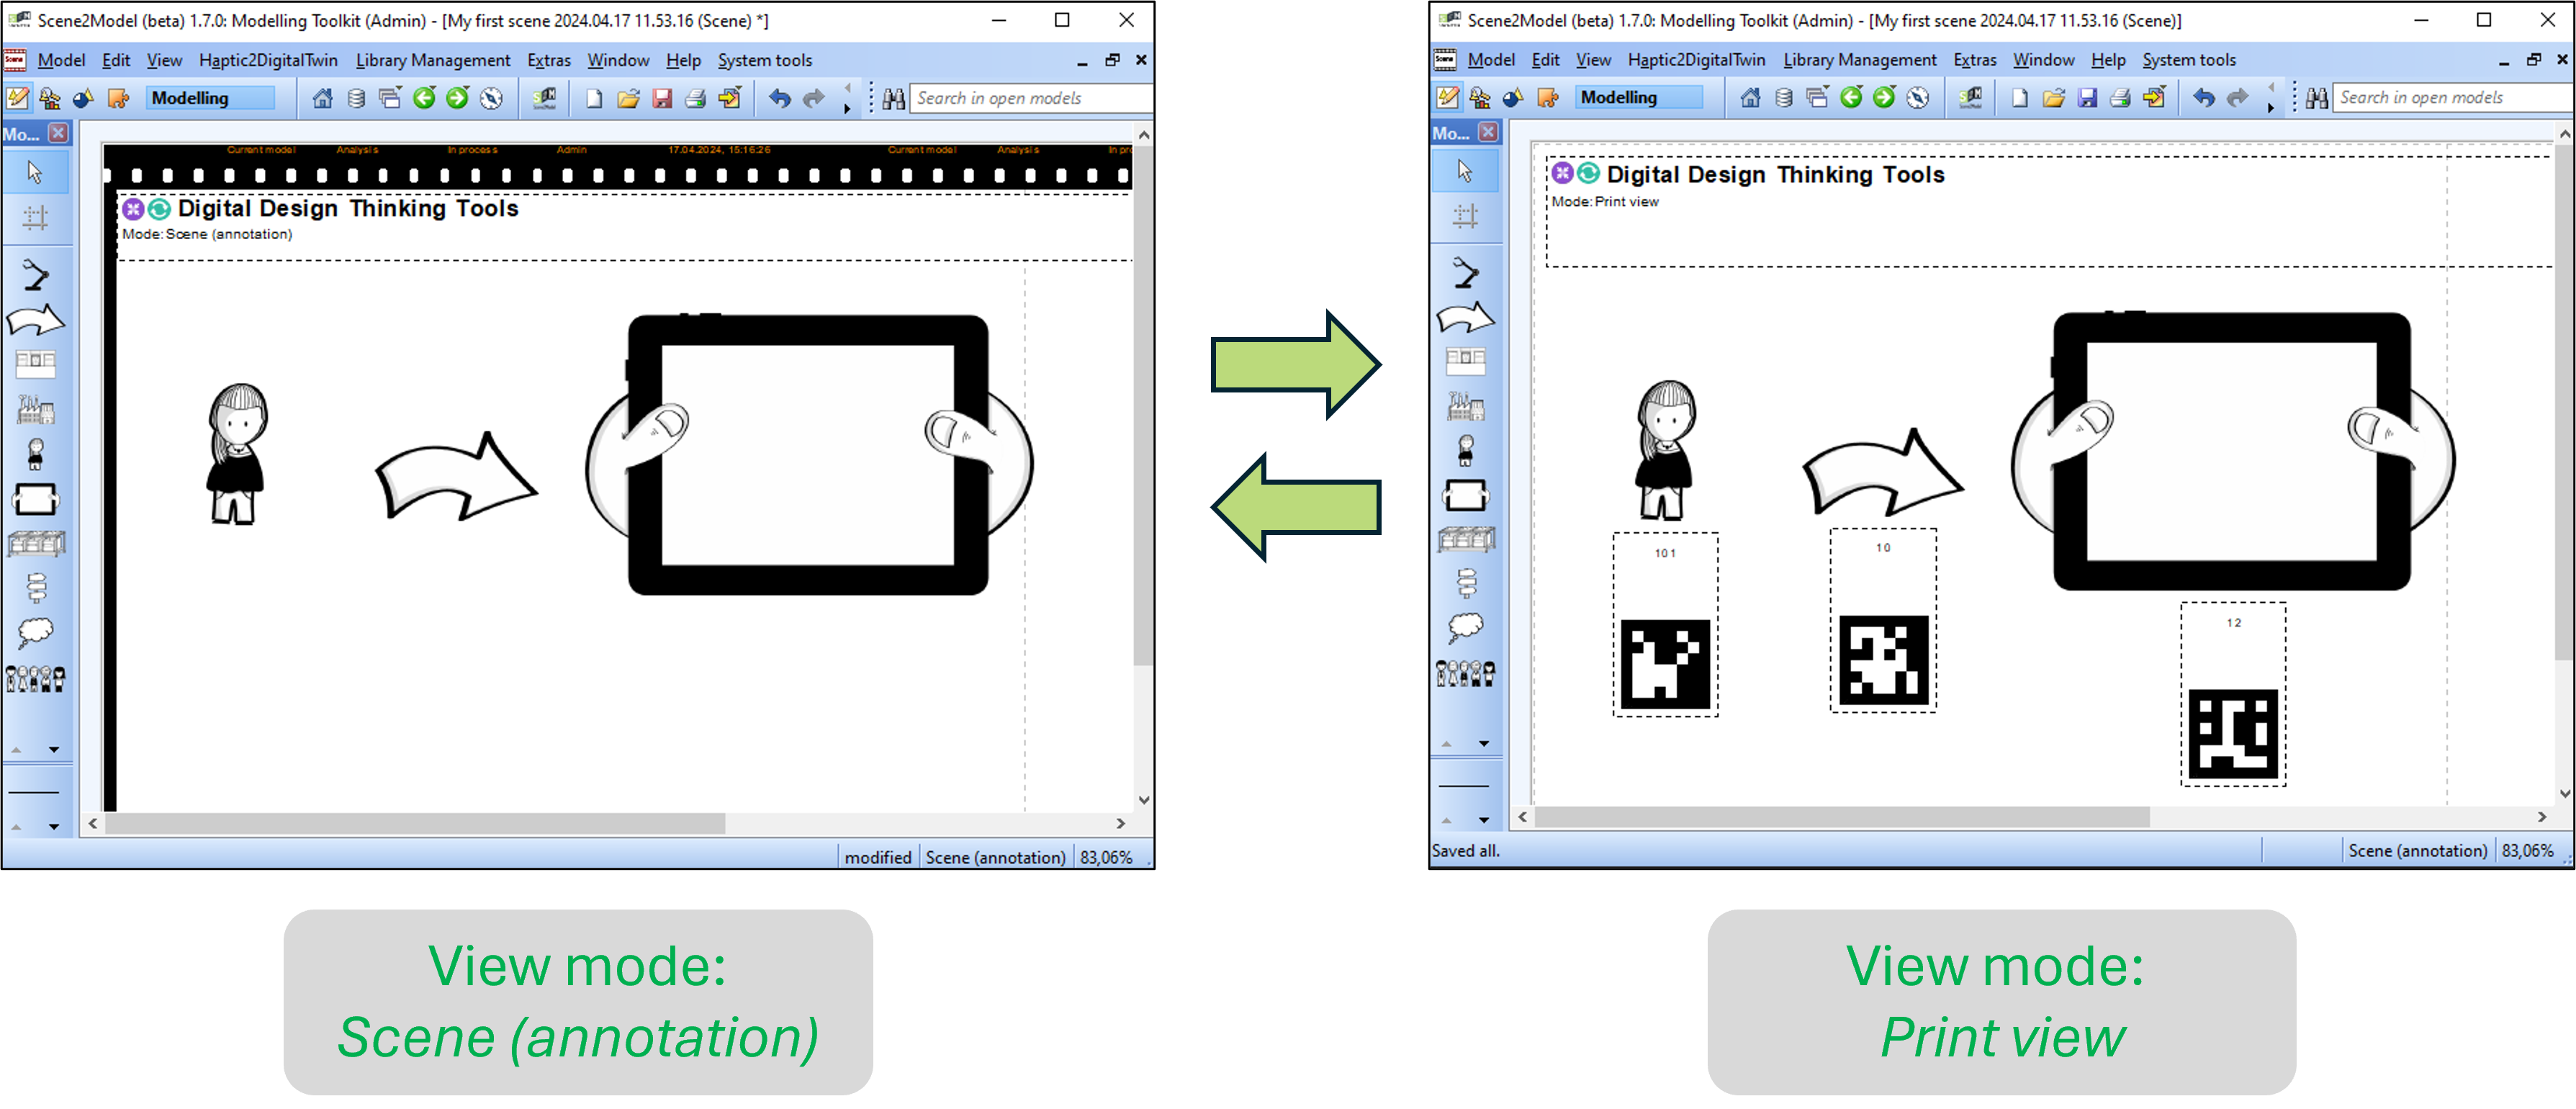
- Scene (annotation): Annotate your imported scenes, by adding information to the elements, add new elements or delete existing ones.
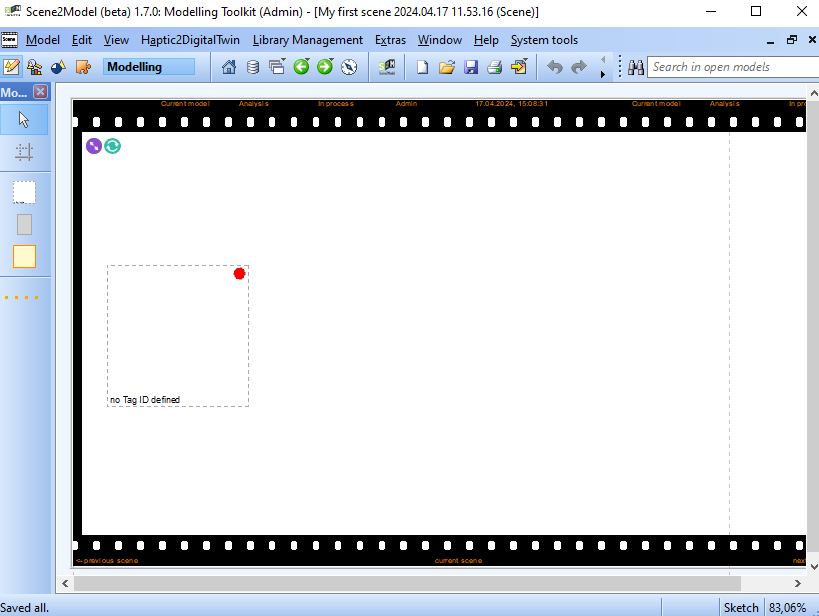
- Sketch: Create scenes with sketch elements
- Print view: Show the tags of the elements next to it in a model, so that the element and the corresponding tag can be printed.
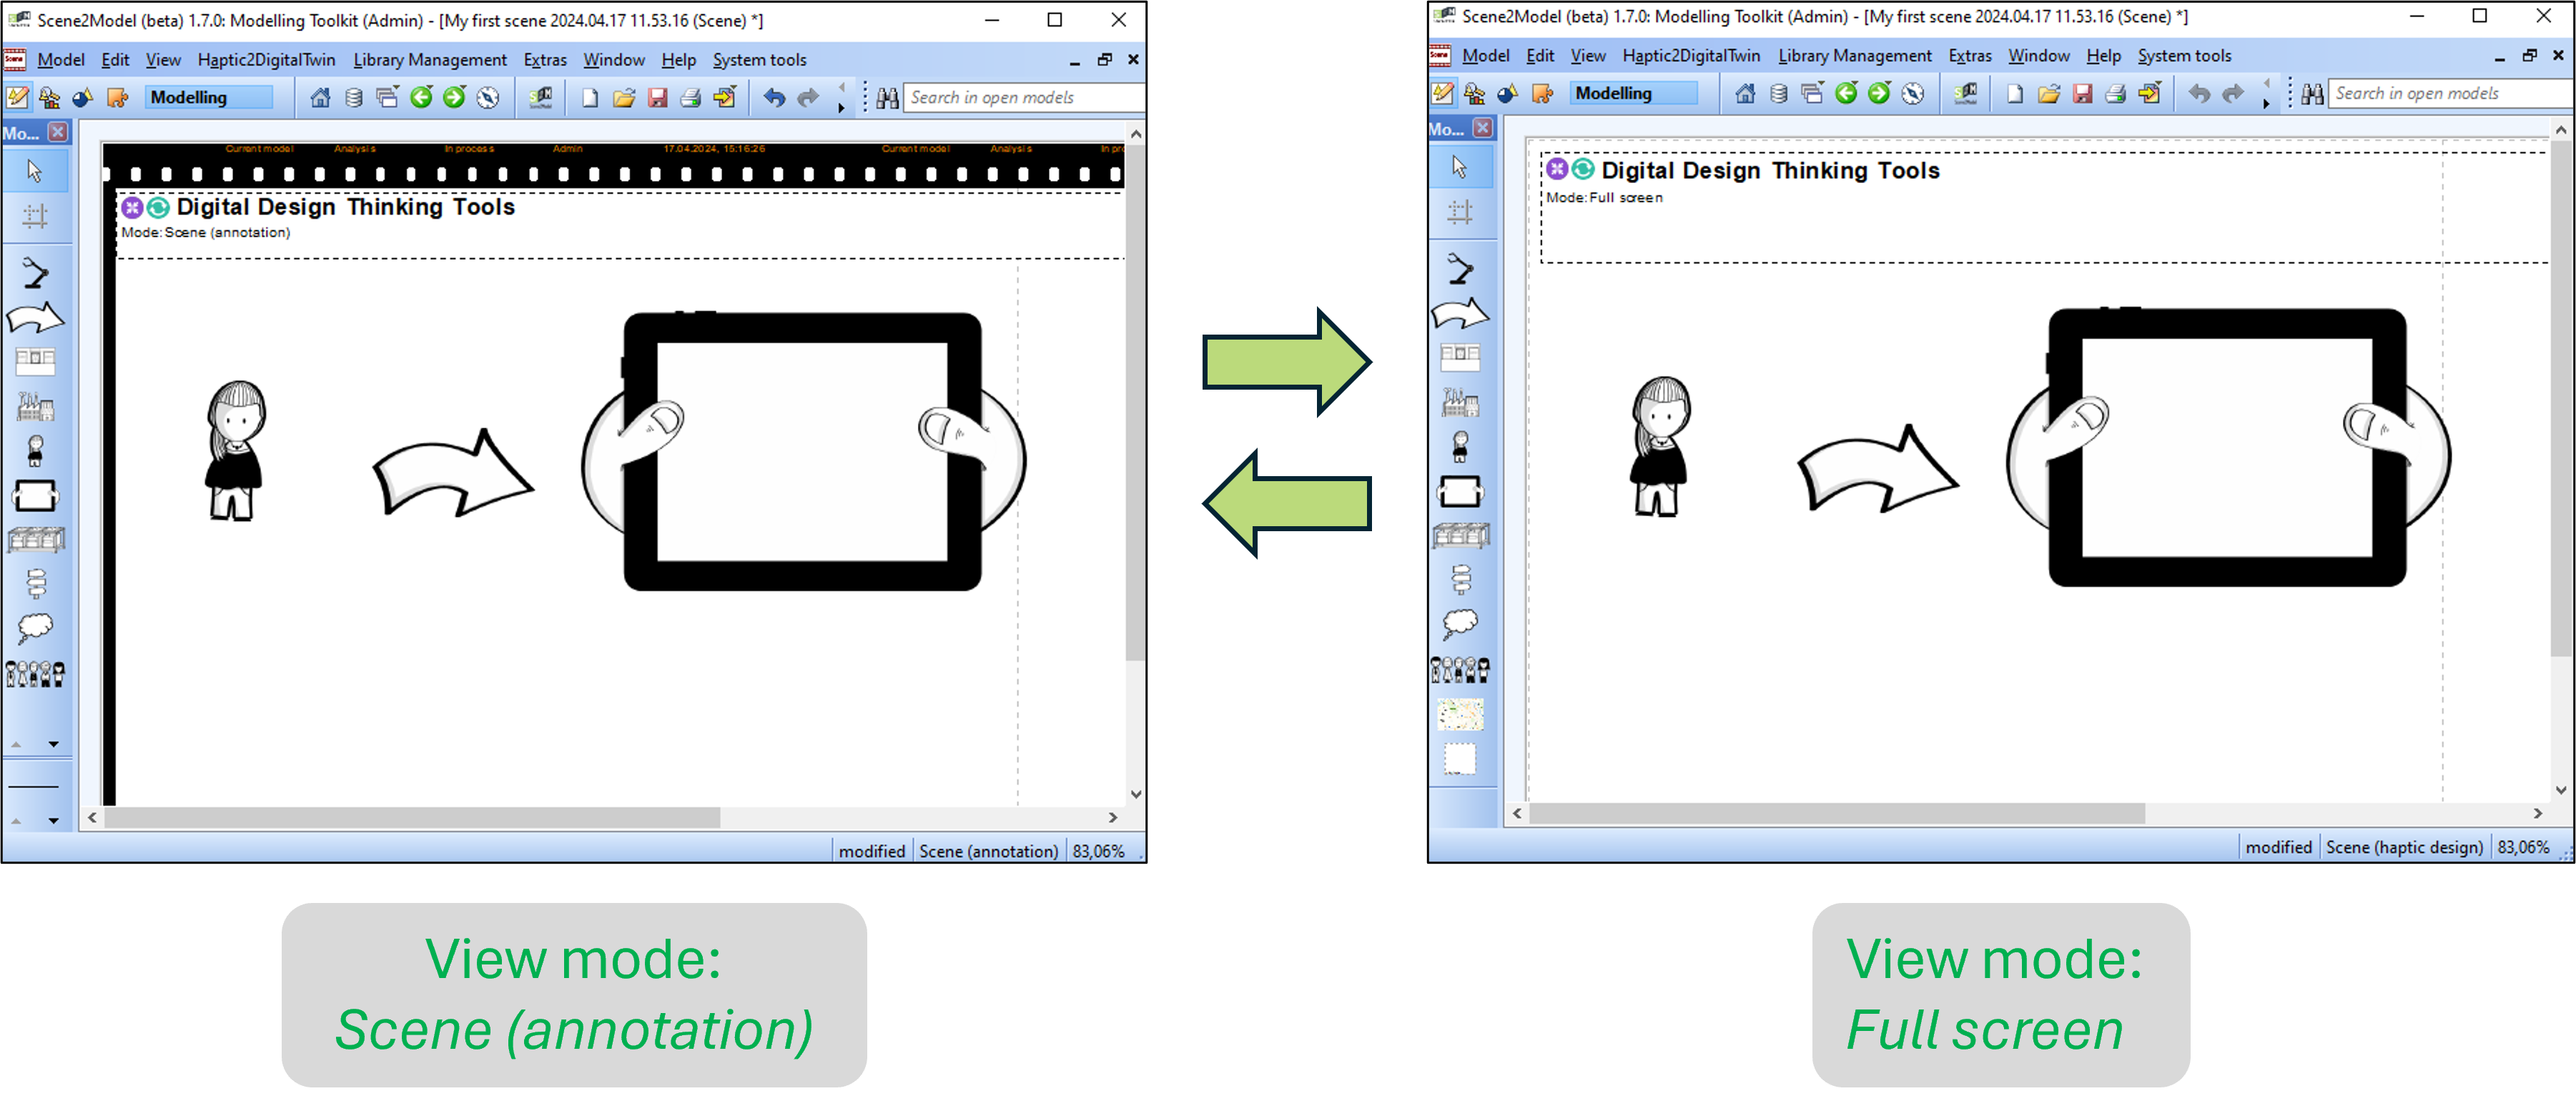
- Full screen: Removes the boarder of the drawing area for the current model.
Refresh View Sometimes when a model is opened, the view is not shown correctly. In this cases the view can be adapted by clicking the turquoise Update user interface button (see picture below) on the top of the model. 
Change View Mode
Prerequisite:
- a Scene2Model Library is imported. Otherwise, the functionality is blocked.
- a Scene is available
Procedure
- Open the
Digital Design Thinking Tools(expand button, top left) - Click on the view mode next to
Mode - Choose the
View modeand the opened window - Click
Apply
- Optional: If changing the view does not properly work (e.g., the modelling bar is not shown), the view can be updated using the
Update user interfacebutton (turquoise button, top left)- Example below shows the
Scene (annotation)view, without the modelling bar. TheUpdate user interfacebutton is used to restore it
- Example below shows the
View Modes
Storyboard
This view mode is used to create the storyboards, which are used as fundamental structure of a design thinking project and provides an overview of all the created scenes and how they are related to each other.
If this view is chosen, the modelling bar is shown containing the elements needed to create storyboards. In addition scene elements already available in the drawing area will be frozen so that they cannot be changed.
Scene (haptic design)
This view mode is used to import haptic scenes from the usage setting, as described in Import Haptic Model. The buttons in the Digital Design Thinking Tools bar can be used to configure the endpoint from which the models should be imported, import the models and show the recognised picture.
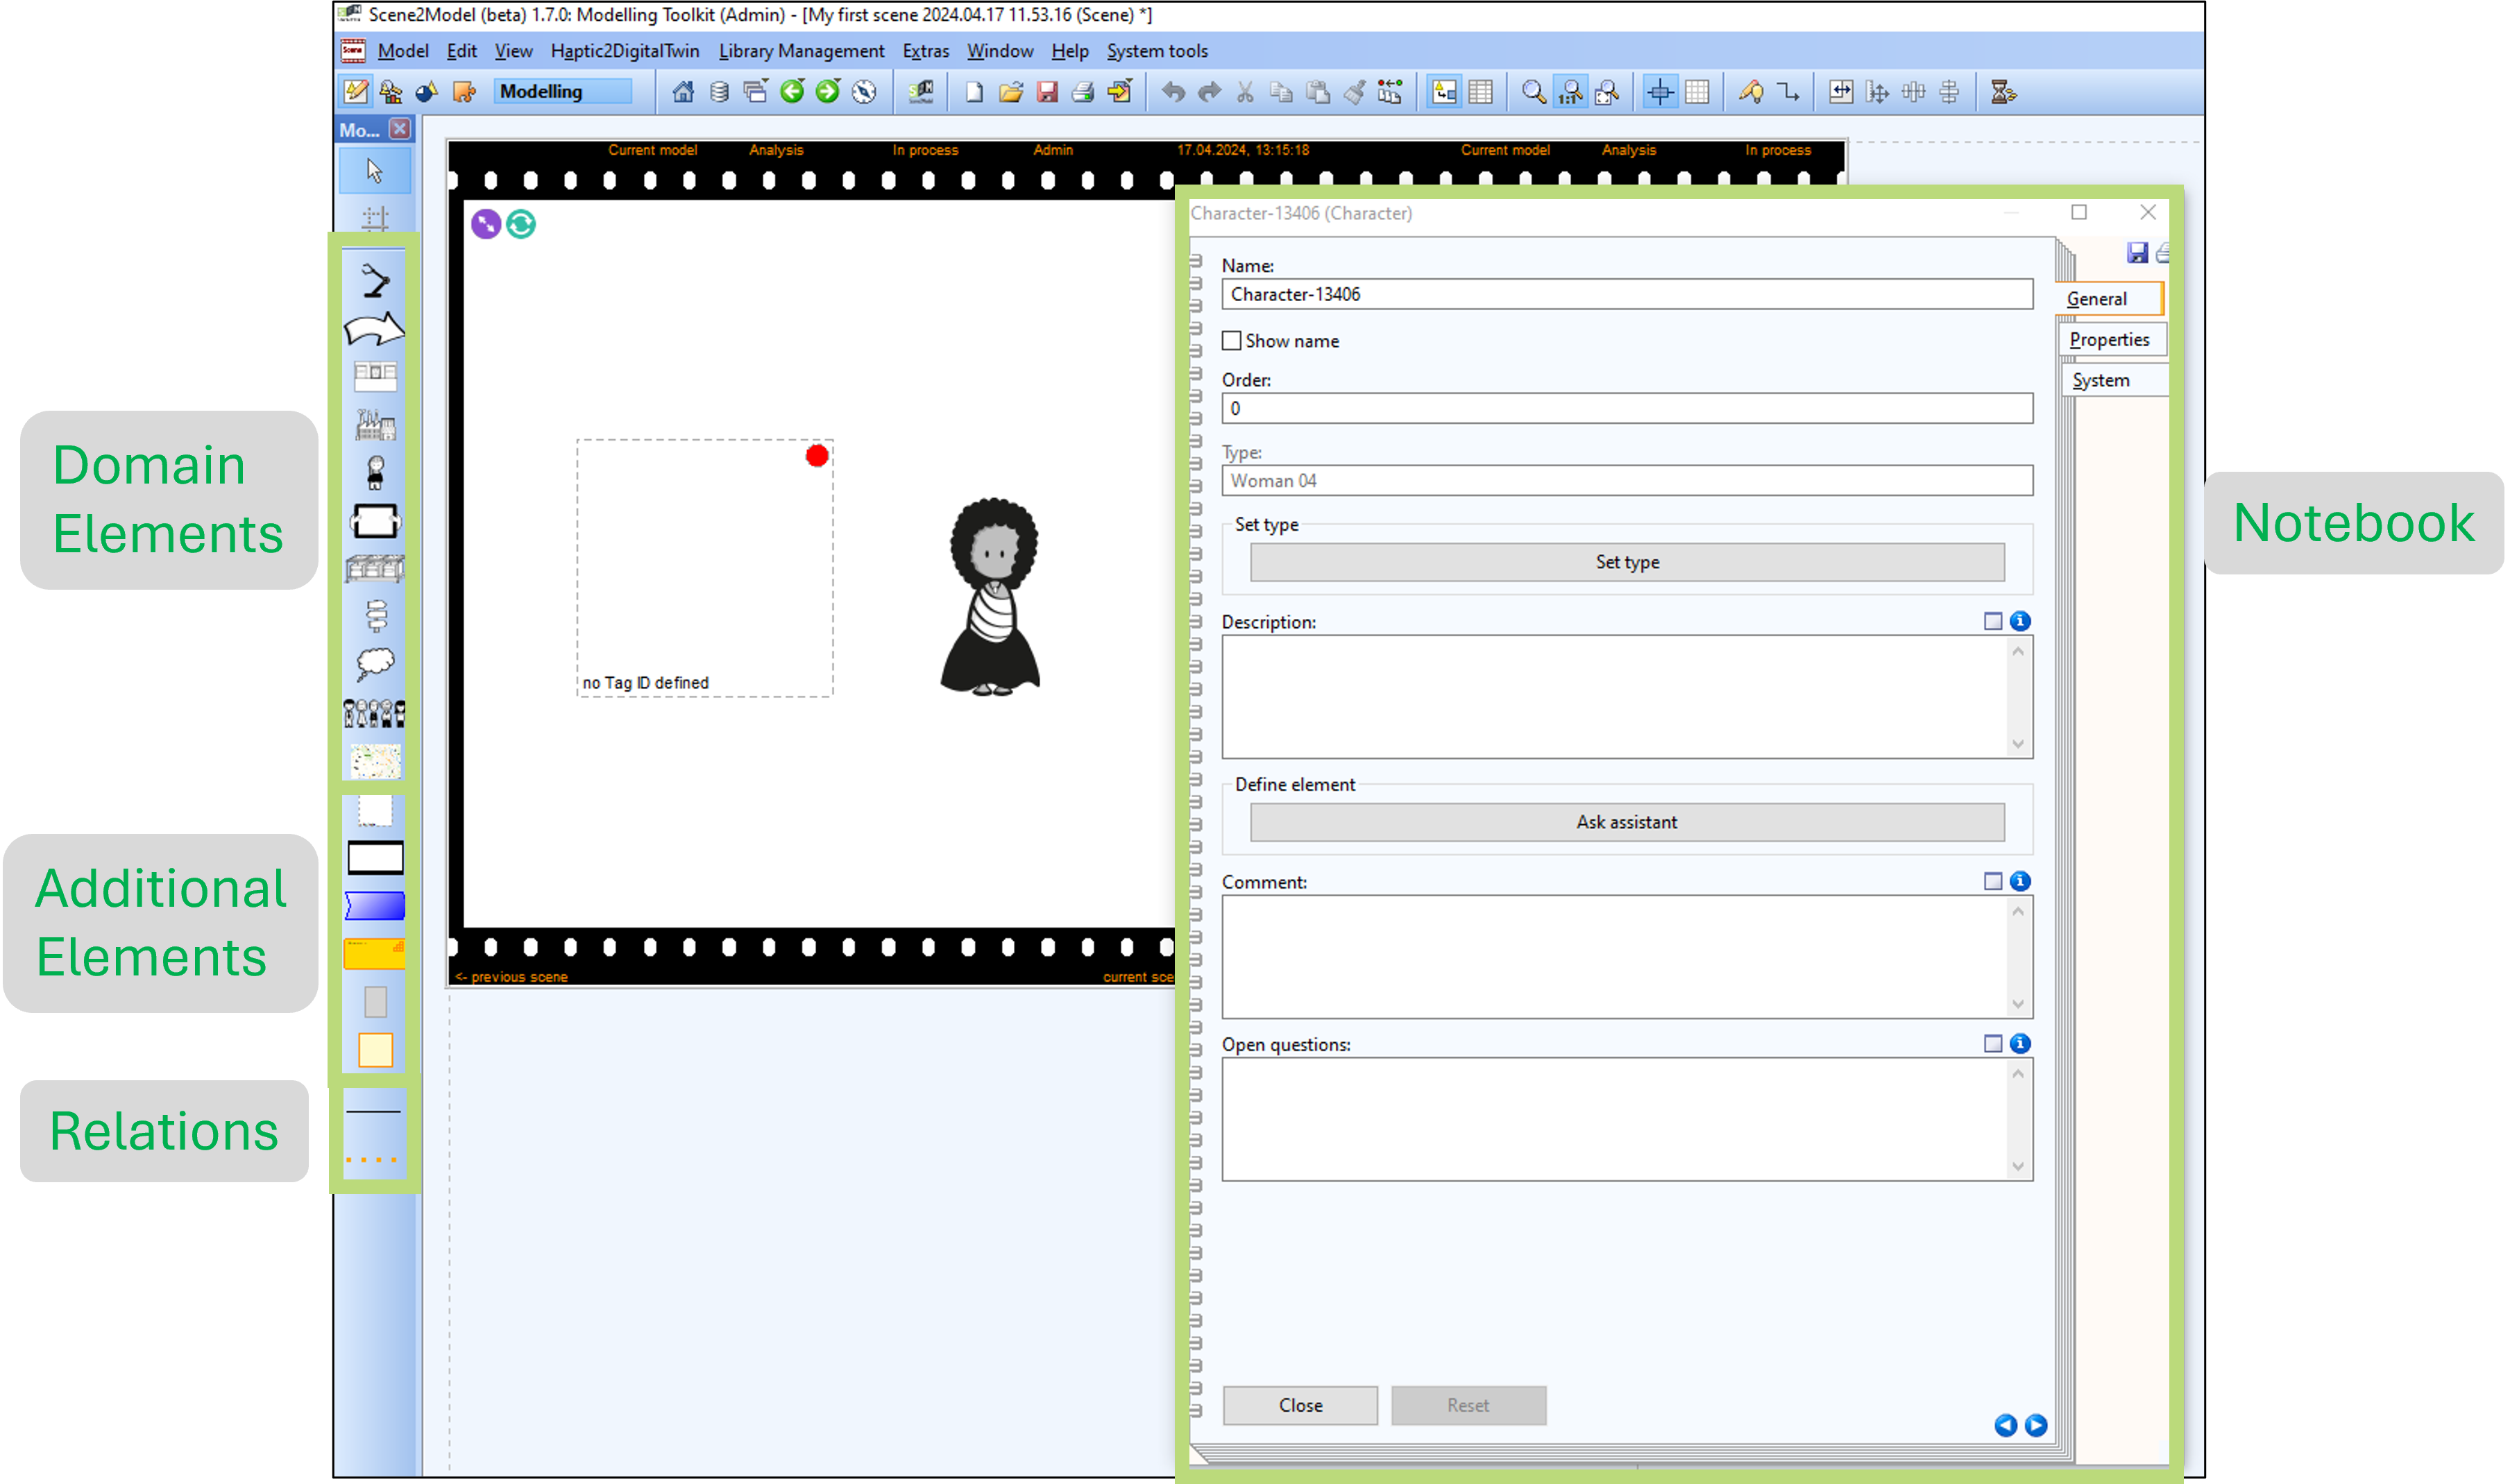
Scene (annotation)
This view mode is used to adapt the imported models manually using the graphical user interface. Additionally, models can be created from scratch, using the concepts in the Domain-specific Library.
The modelling bar on the left can be used to create new elements in the drawing elements. The Domain elements on the top are defined through the Domain-specific Library and the Additional Elements in the middle are pre-defined elements, provided by the library to add additional information to the models. For example, Notes can be used to add textual comments to the model. On the bottom of the modelling bar Relations are available, which can be used to visualize relations between the objects.
To annotate the elements in the model, the Notebook can be opened by double-clicking on the element. The notebook offers different attributes, based on the definition in the Domain-specific Library which can be filled out. On the right side of the notebook different tabs, containing different attributes, are available.
Sketch
This view mode only offers the Sketch element, the Note and Aggregation. To make early sketches of ideas using the graphical user interface.
Print view
This view mode supports the printing of the paper figures for the workshop. If this view is chosen, for all the used available elements on the drawing area, the corresponding tag is shown beneath.
Full screen
This view mode removes the boarder in the scene model, so that the whole drawing area can be used. E.g., if a picture without the boarder should be exported.